Grilled mushrooms, pistachio gremolata.

Grilled Mushrooms

Mushrooms are simple to cook, requiring the absolute minimum of preparation and attention to become your best meal ever. Their unique meaty texture and pungent, earthy flavour is such a delight on a cold morning, offering sustenance for whatever the day might bring.
Mushrooms, once, had a season. The mellow mists and fruitfulness of autumn, when the warmer days get shorter, the chill at dusk melts into brisk evenings and cold, still nights. This is the weather of the mushroom. Autumn is the season of the mushroom. However, modern production methods mean mushrooms are available all year round. Clever, clever people have refashioned disused train tunnels and damp stone buildings to grow very special mushrooms. We are lucky, us mushroom eaters, spoiled for choice, all year round.
In spite of this I keep to a mushroom season. I look out for special mushrooms when I notice the weather might have conspired to produce them. If I am lucky, taking a walk down under the pine trees may yield beautiful orange gold pine mushrooms and heavy, spongy slippery jacks, along with a few regular brown mushrooms. Sometimes other foragers have beaten me to it, and the mushrooms are in baskets at the farmers market or the local farm gate. Foraging is not possible for everyone anyway, so the stroll you take might be around the market, green grocers or supermarket. There you can find buttons, swiss browns, Portobello or large cups, as well as oyster, enoki, king browns, shitake. Maybe even a small pack of exotics like woodear and shimeiji. Wherever you source your mushies, chooses a few different types. Each variety of mushrooms is boldly, distinctly different and it’s worth exploring and deepening your appreciation.
I’m going to make a suggestion in this post that makes me cringe a little. I’m going to suggest you use your sandwich press or flat grill to cook the mushrooms.
I have been tracking a trend in the food media- the refashioning of the bring-your-own-lunch. Through this I have seen suggestion of using the barest of lunch room facilities to prepare some outstanding and innovative office lunches. Imagine using the sandwich press to cook slices of chicken, sweet potato, wilting spinach, frying eggs and bacon, for melting haloumi and grilling apples, and all done on demand in a short lunch break. Fresh, cheap and tasty. This is what Vegies for Breakfast is all about. I’m climbing on board.

.
Grilled mushrooms with pistachio gremolata for one.
This mushroom recipe can be done a-la-traditional in a searing hot frypan, or on the sandwich press. You will need a chopping board and a cook’s knife.

For this meal you’ll need:
2 king oyster mushrooms, 4 regular oyster mushrooms, one large Portobello, a ‘bunch’ of enoki.
Gather your mushrooms, trim the ends and if very dirty, wash them. It is a myth that you shouldn’t wash mushrooms, just use them immediately after washing. Ease the stem out of the large mushroom and if the skin is tough, peel it away. This is good compost.
Slice lengthways, just less than a cm (the thickness of a slice of bread, actually) and put into a bowl so that they may be seasoned and oiled. Toss the mushrooms with olive oil, salt, pepper, a couple pinches of smoky paprika, lay on to the hot grill plate and close the lid. The grill will do it’s work, but if the mushrooms are failing to sizzle, oil or spray them and the grill just a little, to get them going.
While they are cooking take a tablespoon of pistachios, a handful of washed parsley and chop to fine. Use a very sharp knife for this so you don’t get a minced green mush of parsley. Place this in a bowl and zest in ½ a lemon. Mix with a fork to combine. At this point, if you love heat, you can add some finely chopped fresh red or green chilli, or a pinch of chilli flakes, and stir this through.
Check your mushrooms as you go, the thinner stemmed enokis will be ready before the other thicker sliced mushrooms. Once the mushrooms have softened and cooked through, gained a bit of crusty colour from the press, lay them on a plate and sprinkle with the gremolata and if needed, season with salt, pepper and a spritz of sherry vinegar.
My final word of advice- when foraging for mushrooms, you MUST know what you are looking for, or take someone who does. Those stories are not urban legend, many mushroom varieties are poisonous, and you can die from eating the wrong mushrooms.

Stock Standard

Recently I was a part of a confounding conversation that is the inspiration for this post. The conversation that started all this was about stock. Stock. The simplest thing. They teach stock on the first day at culinary school. A pot, water, bones, valueless scraps of random vegetables and herbs. But the versions of stock that came out of this friendly chat was astonishing. There was confusion, rising panic about the method, the correctness of the ingredients, the muddling of the process and purpose. Something easy, thrifty and tasty was perceived as too challenging. I’m going to talk about stock, simplicity and reclaiming the knowledge for yourself.

Stock is everywhere in the food chatter at the moment. Not so much talked about as stock, it’s called bone broth now. The hipster and wellness crowd have jumped on the stock train and are riding high on the mysticism and allure of the elixir that will give you life and love at the same time.

The power of stock is it’s ability to provide essential minerals and nutrients from left overs, scrag ends and waste ingredients.That is what making stock does. Gelatin, collagen, all the trace minerals and elements of the bones and vegetables are leeched into the water. And there is no such thing as waste when you know about stock. Yet cooks are telling me they still aren’t bothering with it.

For me, the making of stock happens in the process of cooking something else. I don’t stop everything just to make stock. It’s part of my habit to do multiple tasks in the kitchen- maximising my time and productivity. If I’m hacking at chicken making baked wings for dinner, or have trimmed and tidied a whole bird to roast in the oven, the stock pot is on the back of the stove, poised for purpose. As I prepare the meat, the bones, wing tips and skin trimmings go in. Moving on, the scraps from the vegies for the roast go in, carrot tops, peelings, onion skins, celery and parsley stalks.

Sometimes stock making waits until after the roast is finished. I trim all the meat off the carcass to use later for soup or for lunch, break up the bones with my knife, or not, it doesn’t matter, pop them in the pot, cover with cold water and set it to come to the boil. Bay leaf and peppercorns are also added, maybe vegies if I’ve anything to hand, a dash of apple cider vinegar (so not necessary) and I leave it to do it’s thing. Once I see that the water is moving (catch it before it’s boiling) I turn the heat to low, grab my soup ladle and skim the froth and bubble from the top. The stock then sits, simmering away until it smells like chicken soup has happened. Strain the liquid off and refrigerate.

I store stock in large jars in the fridge, or freeze it in one litre containers for another day. That’s how chicken stock happens in my kitchen. The roast bones are used, instead of throwing them in the bin I throw them in the pot. Or the bits of wings that no one eats (tips, excess skin) are used, and we get full value from our meat money. Vegie scraps that suit slow simmering are saved and used. I keep a stash bag in the freezer, a zip lock, for any vegie scraps that are good for stock- green leek ends, carrot tips and peelings, celery roots and leaves. They collect there over time, maybe a week, maybe more. When the opportunity to make stock presents, in they all go. Same for bones. If I can see useful scraps but stock isn’t part of the plan that day, I freeze the bits and start plotting for the next time a stock can be made.

There are bone stocks or vegetable stocks. This fundamental is this- the stock water will have the flavour of whatever you put in it. This simple understanding addresses all the questions I am asked about stock- which vegies are right, which bones, what about the meat, cooked or uncooked. Following is the closest ‘recipe’ I can give you for making stock.

one pot, large enough to cover the bones and vegetables with water.

water, always, always cold from the tap.

stock vegetables– traditional vegies are brown onions, celery, including leaves and carrot. Leeks can be used. Then add bay leaf (1-2) and black peppercorns (5-10). Following the understanding that your water will taste like whatever you put in it, avoid bitter vegetables, skins and seeds, and scraps that will disintegrate when cooked. Specifically this means don’t use capsicum, zucchini, beans, cauliflower, broccoli, leafy vegies. If you have stems and scraps of those veg, save them for the soup you are going to make after the stock is done. They will be perfect for that. Parsnips, swedes and turnips are great in the soup, the stew, the curry you’ll make, they’re not for stock. Also no starchy vegies- this means no potato, pumpkin, or sweet potato, not the skins either. If you peel the skin off mushrooms, you can use those (skins, not mushrooms, although you can make mushroom stock- see my very next post!). I have seen chefs put tomatoes in stock, this gives it a lovely golden red hue but can add bitterness (from the skins). Try it out, see what you like. After all, it’s water and scraps, no great fail if you get it wrong, right?

herbs– same as for vegies, soft green fronds do not hold up well when cooked. Excessive green will give you green tinged stock. Herbs also are heavily scented, you need to think about whether this will complement the dishes your stock is for. Parsley stalks, bay leaf (and only one or two, even in a big pot) thyme stems, rosemary stalks (again, limit this, rosemary is strong and full of volatile oils that overpower) are all possible.

bonesbeef, lamb, goat, chicken, quail, duck, rabbit, fish, I’ve used all these to make stock. I’ve been told never pork, but that may be cultural advice, not culinary. I’ve still never done it. Except ham hocks and bacon bones, for pea and ham soup. The quantity might be 1 kg of bones to 5 liters of water. Don’t be too absolute. Whatever fits in the pot you have. The more bones and vegetables you use the more flavorful your stock will be.

If using big beef bones, ask the butcher to saw them into bits for you as this gives a better chance to get the super nutrients out. The marrow makes the stock lip-smackingly and gelatine-y luscious. Importantly, you need to be able to fit them in your pot. Break up carcasses with a heavy knife, slice through joints, anything to break down the bones, cleanly.

Roasted bones or raw does not matter, some chefs claim. I was always told to roast the bones, so I did. Lately, I don’t.

If you roast the bones, and when golden brown lift them out of their roasting pan into the stock pot, you will get the brown stock chefs covet for making sauces and jus. The fat will have melted out, lessening the threat of getting a cloudy result. Cloudy stock is not travesty, it happens when fat emulsifies into the liquid. Cloudy stock is a sign you let the stock boil.

Method

Put all ingredients into the pot and cover with cold water. Bring to the boil, but catch it just before it gets there. Lower the heat so the pot is just ticking, a little bubble now and then, the merest shimmer of movement across the surface. Skim the top of the stock intermittently to remove floating scum and froth.

How long it is cooked for depends on the stock.

Timings: vegie and fish stock- 30 mins; chicken/ small game- 1-3- hours; beef/ lamb/ ham- from 4 hours to overnight. If you are long cooking beef stock, the water will evaporate. You will need to top up the stockpot with water, making sure the bones remain covered. You can make beef stock in the slow cooker overnight, too.

Strain the stock, cool and refrigerate or freeze. Use fresh stock within 3-5 days

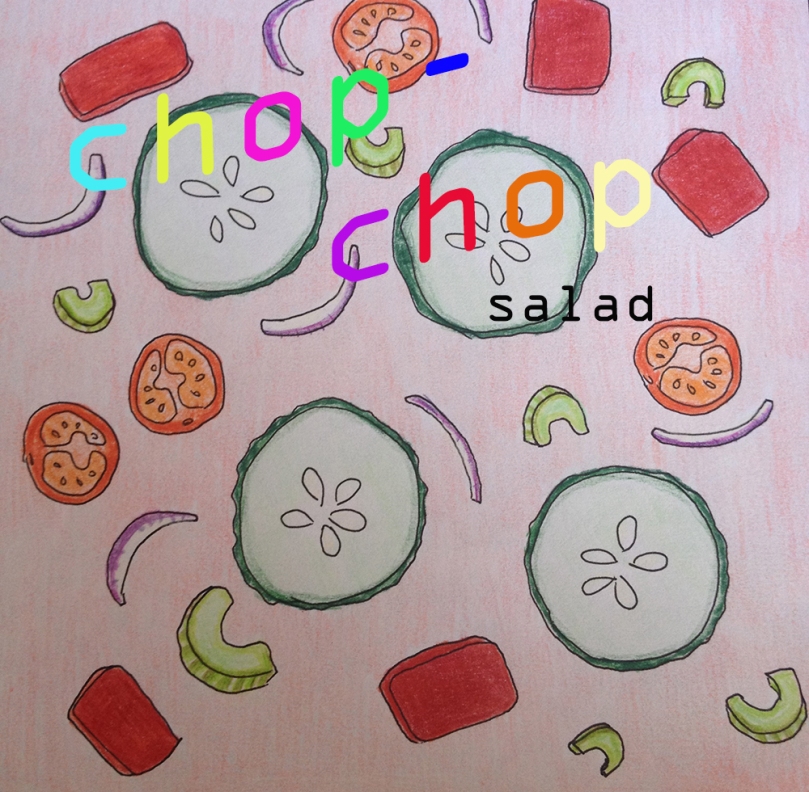
chop-chop salad

chop-chop salad illo

As I struggle with my trans-seasonal wardrobe, wearing shorts while taking an umbrella to work, I think back to the string of heady summer scorchers we endured. The horror of those nights of tossing and turning in the heat. Waking drained and just dying for something to revive you, wake and shake you into facing the world again.

This salad does it. Zaps your system. The best part is it can be made the night before, and is best left to spend time marinating in it’s juice. A kind of chunky, deconstructed gazpacho-ish dish. A splash of Tabasco and it’s as good as a Bloody Mary for breakfast, and won’t get you fired.

Before you begin, wash all the vegies in a bowl of cold water.
Then, as best as you can manage, as large or as micro as you like, dice up
1 cucumber, skin and all
1 red capsicum, deseeded
4 fully ripe tomatoes, of any variety, seeds and all
2 sticks of celery, leaves as well
3 stems of spring onion, or ¼ red onion, or chives to make ¼ cup

Have a large bowl handy. As you are cutting, any juices must be caught and kept, as part of the salad. Tip all the chopped ingredients into the bowl, season with salt and pepper and drizzle a splash of olive oil over the top. Cover and allow to sit for a bit or overnight in the fridge.
Before eating, give it a good toss so the juices stir through the salad and become like dressing. Taste and add more oil or some sherry vinegar if it needs a bit more zip. Tabasco is optional here as well.

On it’s own it’s a great salad. On those days after a hot night, probably enough. But if you are looking to anchor it with something a bit substantial, the obvious choice here is avocado. Any leftover smoky baba ganoush, or the tahini yoghurt dressing will add another dimension to this salad. Be wary of adding in stuff that messes too much with the simplicity. It does not need nuts, cheese, olives or slices of chicken or bacon. That’s not what this salad is about. Try it out. You’ll want it again.


Hiatus over, spinach pancake.

20140325-174120.jpg

That was a long break. Summer, sweet and long. You were probably wondering what to eat. I know, I did too.

Don’t despair, I have notes. We will share some summery Vegies for Breakfast ideas, as the cool of the autumn creeps in and we wait for daylight savings to click over.

This summer I worked a LOT. Early starts, busy days. High impact, deeply intensive days. Shopping time was limited, so the freezer was my most reliable food source. The breakfast had to keep me going well past lunch. Breakfast had to be high impact and deeply intensive. As the summer whisked past, time in bed became more important than getting up to eat. Brekkie time had to be fast. This dish was devised to suit those purposes.

You’ll need your simplest frypan. This can be thin based or a crepe pan, or lighter non stick style, which you find easy to maneuver. A wide ended lifter (spatula). A bowl and a fork.

2 cubes frozen spinach

1 egg

salt, pepper, oil, butter

Defrost the spinach cubes over night in the fridge, in a small bowl. If this is too much forward planning for you, defrost them in the microwave for one minute (but try not to let them get too hot- the steam can cook the egg!). Place the frypan on medium high heat and warm about two tablespoons of olive oil and one of butter until the butter is foamy. While the pan is heating, using a fork, beat the egg into the spinach until completely mixed through, the spinach is thoroughly coated and bound up in the egg. This is a kind of spinach-y batter. Season with salt and pepper. When the butter is foamy tip the whole spinach-egg mixture into the pan and with a fork spread it out as thinly as it can go (about the size of a bread and butter plate). Allow to cook for several minutes- until the sides of the pancake are fluffy, crunchy and set well and the middle is holding together. Then (this may take a few tries, don’t worry, you’ll get it, and if it breaks or collapses in the meantime the pancake is still delicious- zero failure rate!) carefully slide your spatula under the pancake and tilting the pan to help catch it, flip the pancake over. Cook until fluffy, toasty and set through.

While the pancake is cooking on this side you can lay on some toppings or fillings, which can be anything like:

tin of sardines or tuna, oil and all, a crumble of feta, smear of cream cheese, old cheddar ends, any cheese is good, kimchi, avocado, leftover mushy vegies like pumpkin, roast sweet potato, cauliflower, brocolli, leftover dahl or rice, relish or a mix of any of these things.

The heat of the pancake will warm the toppings through, or you can fold the pancake in half and the filling will quickly warm up as it finishes cooking. The secret of the toppings is not too much! A thin layer, just to add that extra something else, is enough.

Slide or lift onto a plate, as you would an omelette and eat.

My most favourite fillings were avocado and harissa, feta and sardines or mushy cauliflower and lentils. This dish worked as hard as I did this summer and I was always happy to eat it.

Great to have you here, hope to see you all again next week!


Rosemary and Anchovy Sauce

20131204-124224.jpgSometimes people expect miracles from vegies. They are a wonderfood, but that doesn’t mean they can be boiled and plonked on a plate and then expected to carry the whole meal. The addition of a simple sauce can turn ‘vegies-as-an-afterthought’ into the superstar of the meal. Sauce, by which I really mean relishes, condiments, dressings and drizzles, can be made ahead and kept, ready to rescue dinner, elevate a snack to a supper. We have visited a few here already- tahini and yoghurt sauce, sambal, parsley oil, cucumber yoghurt. Check them out to have on hand as summer comes. Cold grilled or roasted vegies with tahini-yoghurt sauce are the best leftover you could hope to scrounge out of the fridge. Parsley oil drizzled over steamed green beans with a squeeze of lemon and a crumbled bit of feta is lunch or a late supper in a flash. The vegie part is simple, the sauce even easier.

The rosemary is out, flowering and shooting with the surge of spring. The young new growth is tender and not as strong in flavour as the older, woody stems. The volatile oils are strongest in the flowers, which can be steeped and warmed in oil to make fragrant salad dressings and drizzle over steamed carrots. Rosemary was known to be good for ‘weaknesses of ye brayne’- curing headaches, improving memory and as key ingredient in hair lotion. But it’s better to eat this than put it on our hair.

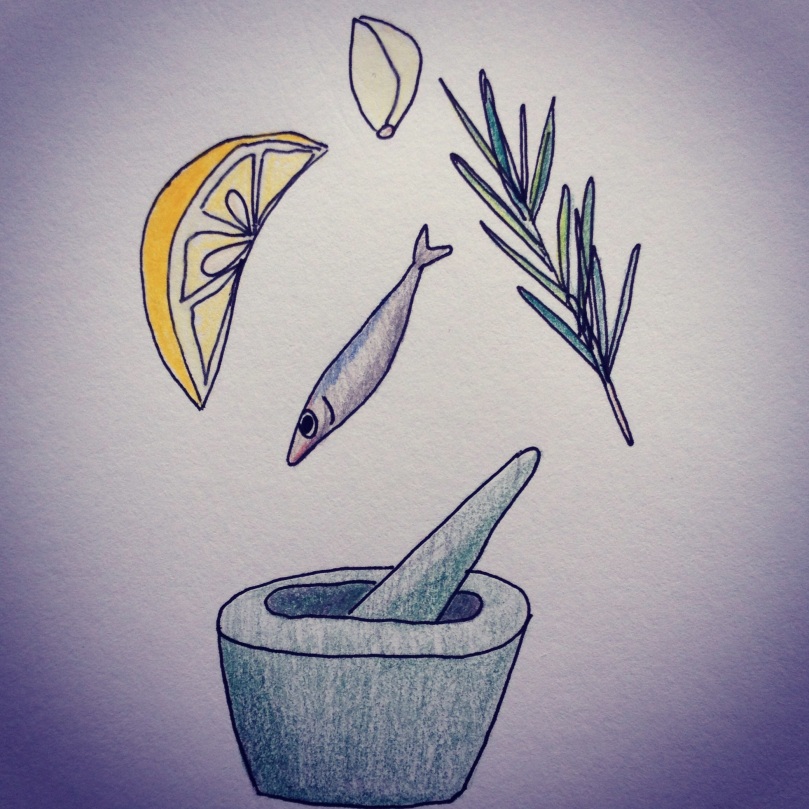
Anchovy and rosemary ‘sauce’.

I was wary of posting this, since it is not strictly vegetarian. But then neither am I. Anchovies can be substituted with capers (salted ones, soaked and rinsed), but the result is quite different. Maybe use a tablespoon.

You will need a mortar and pestle, or your chopping board and a good kitchen knife (meaning: a wide blade).

Into the mortar put

5 long anchovies, and the oil that drips off them

1 fresh clove of garlic

and pound and grind them into a thick paste.

Find a 5cm stalk of young rosemary and chop it finely, mincing it with the edge of the blade to squeeze out the oils. Then scrape this into the mortar.

Stirring with the pestle, squeeze in the juice of half a lemon and then slowly drip in olive oil, a few drops at a time until the consistency of a thick dressing. Taste and adjust as necessary, adding more lemon, oil or even a splash of sherry vinegar, which surprisingly helps mellow out the lemon.

Let it sit for a bit, to settle down. When it comes time to use it, you may need to stir it again, to emulsify. Refrigerate it to keep, but remember to leave time to let it melt (good olive oil sets in the fridge) when you want to use it.

How to use it? Drizzled over crispy iceberg lettuce, or blanched spinach, or dutch carrots, or slices of cooked beetroot.

In Italy it’s called Bagna Cauda, and used as a dip for crunchy raw vegetables, like carrots, radishes, cauliflower, cucumber and green beans.

Really, just spread it around.

Root Vegie mash and leftover mash fritters.

rootmashillo

A fritter is my most favourite way to eat vegies for breakfast. You might have noticed this already! I have tried to avoid repetition, but, since I do love them so much, I want to emphasise the joy they can bring, as a simple, easy vegie meal.

This fritter makes use of leftovers, as a lot of Vegies for Breakfast recipes do. Specifically, mashed root vegetables.  Eat one of these and you’ll find yourself WANTING to make a mash, just to eat these in the morning.

Root Veg Mash, and Leftover Mash Fritters.

Start the recipe with

1 each or any combination of parsnip, swede, turnip, carrot and small wedge of pumpkin.

Clean, peel and cut the vegetable into similar sized pieces. The smaller they are, the quicker they’ll cook. Place the vegies in a wide bottomed saucepan, add in about 2 cups of water, salt and set over high heat. Once the water is steaming hot, cover with a lid and turn down to low to steam-cook  through. This will take about 20-30-40 mins, but check on it regularly and top up the water if it’s getting  low. Test with a fork for readiness, they must be soft enough to mash easily. Drain off the remaining water, reserving it for use when mashing or as a base for a vegie soup.

Alternatively, you can use your steamer. It is better to steam rather than boiling these vegies, as they contain a lot of moisture to begin with, boiling them just dilutes their amazing flavour, and leaves you with bland, soggy mash.

Mash with butter, salt and pepper, adding in a little of the cooking water to get the desired consistency, as you would for potato mash.  It can be chunky or smooth as you like.

Eat for dinner, reserving  one cup of mash for the morning.

In the morning, take out your cup of mash and put it in a large mixing bowl.

Break it up with a fork and stir through-

one large beaten egg,

 ½-1 cup of flour, depending on how wet the mash is. Start with ½ a cup and add in more if needed. You are looking for a thick, pancake consistency.  Be aware that the more you stir it, the glue-ier the batter  will become, so stir lightly and know that a wetter mixture is no problem. Add in some of the vegie liquid if the batter is too stiff, but a tablespoon at a time, only. Any kind of flour is fine- plain, gluten free, semolina, millet, coconut, even almond meal or LSA can be used here. Bear in mind if your flour has a flavour, you will taste this was well.

salt, pepper and a grate of nutmeg or mixed spice(up to ¼ teaspoon)

pinch of chilli flakes, if you like, or a handful of any chopped herbs you have to hand- chives would be ideal.

Place a heavy bottom skillet or frypan over medium heat and once warmed, melt in some butter. Drop spoonfuls of mixture in and allow to cook until the underside is deeply golden and crusty. Then flip, gently, and continue cooking until this second side matches the first.

The fritters are great as is, but since the pan is already warm, I usually crack in an egg and serve these fritters with a runny fried egg. And a smear of tangy beetroot relish. So, I’d better give you the beetroot relish recipe….soon.

Broccoli saute with leek, rosemary and garlic.

photo

Loving vegies is an ongoing habit. Part of loving vegies is learning to cook them, how each one behaves, who they match with, who their friends are. The other part is discovering their best accompaniments. Each meal is a chance to taste something new, or live in the moment with the company of a trusted old faithful.

Broccoli has a season, even though we can get it all year round. It’s a winter vegie. During the cold months I eat broccoli almost every day. Over a bowl of broccoli the other day I was stunned to realise that I haven’t really given it much time here. I wasn’t ignoring broccoli, just not noticing the role it plays in my everydayness. Time now to give my winter workhorse, broccoli, it’s due. Until spring hits and other vegies assert their supremacy for a short period….

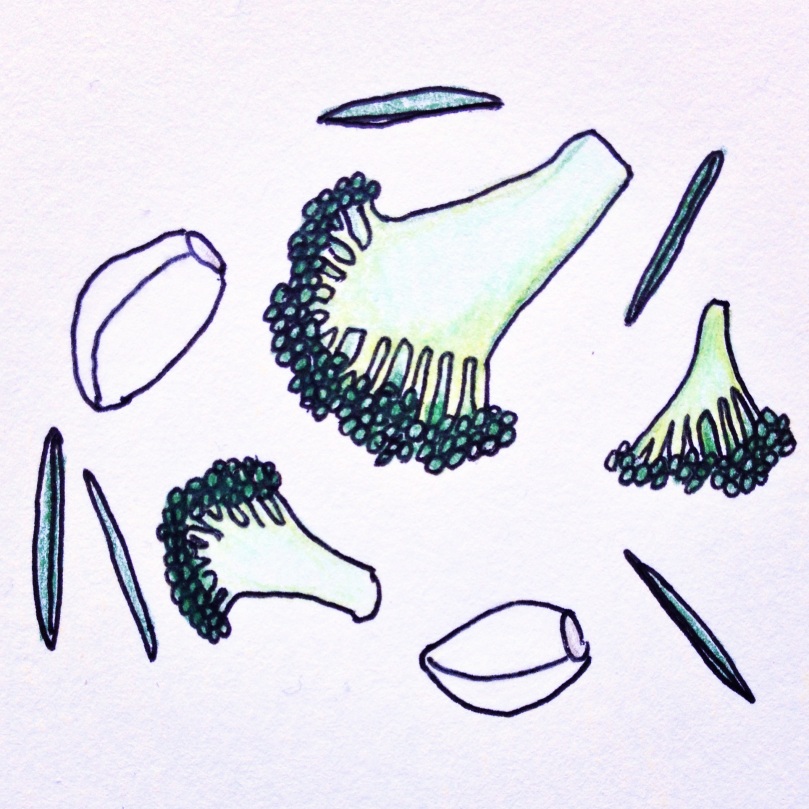
Brocolli sauté, with leek, rosemary and garlic.

– 1 leek, washed and sliced

– 1 large head of broccoli, washed, cut into small florets

– 1 stem of new rosemary

– 1 clove garlic, sliced

– olive oil, salt, pepper

In a heavy base pan over medium-low heat, start by warming the garlic and the rosemary in a good lug of olive oil. Once the garlic is sizzling and just starting to colour, remove the rosemary stem and add in the leek. Stir to coat with oil, season with salt and pepper and cover with a lid to soften, for about 3-5 minutes. Stir the soft leeks and garlic and then add in the  broccoli and about ½ cup of water or stock, whichever you have to hand. Cover and allow to steam/sauté until the stems of the broccoli are tender (that is, the tip of a sharp knife slides in easily). If there is water still in the pan, turn the heat up to medium and with the lid off, allow the water to steam off until there is a liquidy ‘sauce’ to your liking. Or allow it to dry completely and juice it up with a squeeze of lemon when you serve it. Serve in a large flat bowl, and eat.

A great accompaniment for this dish is a soft poached egg or a crumble of goats cheese. Toasted almonds and fresh chopped parsley also compliment brilliantly, with a bit of extra butter, just because.

Sambal Tuwung

eggplant copy
We have been away from this space, dedicated followers. I know you noticed. But
our absence means refreshed and re-invigorated vegie lovers sit before you,
once again ready to bring you the best of our early morning vegie cooking,
illustrated.
Jade, sadly, was unwell. For a long time. But has recovered. Yay. Check out what
she has been doing here.
I went to Bali. It was hot and every morning our small hotel laid on noodles, fried
rice, cap cay (vegies, sautéed/steamed in stock) and mixed vegie omelettes,
with or without chilli. All the staff and locals living in the hotel ate savoury
breakfast, leaving the toast and jam, pancakes, croissants, muffins and fruit
platters for the tourists.
I am bursting to share some of what I ate and cooked with you, but back here,
today, the season still draws me to warmer brekkies, the chill in the morning
pushing me away from cold and crunchy.
I will share with you a sambal recipe- a roasted vegetable sauce, pounded to a
paste to top smoky, charred eggplant, with a hint of kaffir lime and chilli,
reminding us that warmer weather is coming.
Sambal Tuwung (Roasted eggplant with sambal)
You’ll need a mortar and pestle, mixing bowl, tongs, knife and chopping board.
2 eggplant
3 long, red chilli
2 tomatoes
5 cloves garlic, peeled
2 kaffir lime (or regular lime is fine)
2 kaffir lime leaves
1 teaspoon grated palm sugar
salt
Blacken and cook the whole eggplant over your high gas flame (if your extraction
fan can handle it!) until soft, smoky and collapsed. Lift into a bowl with tongs and
cover with plastic wrap to steam off the skin. Roast, whole, the tomatoes, chilli
and garlic, in a hot oven (220c), then remove, cover and steam as instructed
above. Leave to cool to room temperature.
Alternatively, the eggplant can also be roasted, whole in the oven as well. Or, if
you have a grill style barbecue, use this for all the ingredients.
Skin the eggplant and tear into strips over a bowl, saving all the juices,
discarding crusty charred skin.
Grind the peeled and de-seeded chilli, skinned tomatoes, garlic and palm sugar
in your mortar and pestle to a chunky paste. Finely shred the kaffir lime leaves,
and mix all together with the eggplant, the tomato/chilli/garlic paste, the juice of
two kaffir limes and salt. Taste and adjust the sweet, salty, sour seasoning as
required- adding more palm sugar, lime juice or salt as desired.
The sambal alone can be kept and used for up to a week, and is perfect for any
grilled or roasted vegies, including sweet potato and pumpkin, or sautéed
greens, even to jazz up plain rice. I would suggest doubling or tripling the sambal
recipe- larger volume makes pounding it easier and you’ll have leftover sambal
to use straight away. Trust me, you’ll want to.

Beetroot, walnut & parsley oil

20130922-200546.jpg

At this stage of the winter, we can all weary of the vegies that we have been looking at for the past months. Roots that were once deeply satisfying become less enticing as the weather warms and our appetites are ready for change.

But the same vegies are still there for a while. It’s at this time I turn to good dressings and sauces to boost up my vegies, and tickle my tastebuds.

Roasted beetroot with walnut and parsley oil.

4 large beetroot, or as many as you can feel like eating.

Parsley and Walnut Oil.

1 bunch flat leaf parsley

1 teaspoon turmeric

½ teaspoon smoked paprika

½ cup extra virgin olive oil, maybe more

½ cup toasted walnuts

salt and pepper

If you have a blender or other such appropriate equipment, roughly chop all the ingredients and then blend to a paste, adding enough oil to make a dribbly dressing. Taste and adjust seasoning with salt and pepper. If you like a bit of zing, a splash of sherry vinegar will give the lift you are looking for.

Make a bag out of foil and wrap the beetroot, securing the edges so that they can steam while roasting. Place the bag on an oven tray and cook on 180c until tender to the centre. To check this you’ll need to open the bag and insert a sharp knife, but watch out for the burst of steam as you open the bag!

Once they are ready, cool slightly, and rub off the skins. You can smash them, you can slice them, dice or cut wedges. Whatever takes your fancy.

Lay them on the plate, lightly season and then drizzle with walnut and parsley oil.

If going into this dish with cold beetroot, slice them and lay on the plate, then give them a short burst in the microwave, if only to take the chill off, then dress.

The walnut parsley oil will keep for up to a week in a jar, refrigerated.

Breakfast Hash

20130911-161833.jpg

Lately, breakfast has been in a rush. The lighter mornings has seen me up and out, to squeeze in early walks or yoga, which I enjoy immensely. Because I enjoy this time so, my return home grows later and later, such that breakfast time is diminished as other morning essential activities crowd into the time-space.

The answer is brekkie hash. Three or four ingredients, oil and a pan. Condiment. It’s faster than poaching an egg, and tastier. Following is a story, rather than a recipe, about how to manage a vegie hash in the morning. Once you have read it through I hope you get a sense of how to accomplish this for breakfast in the quick and easy sense it was created.
Breakfast Hash
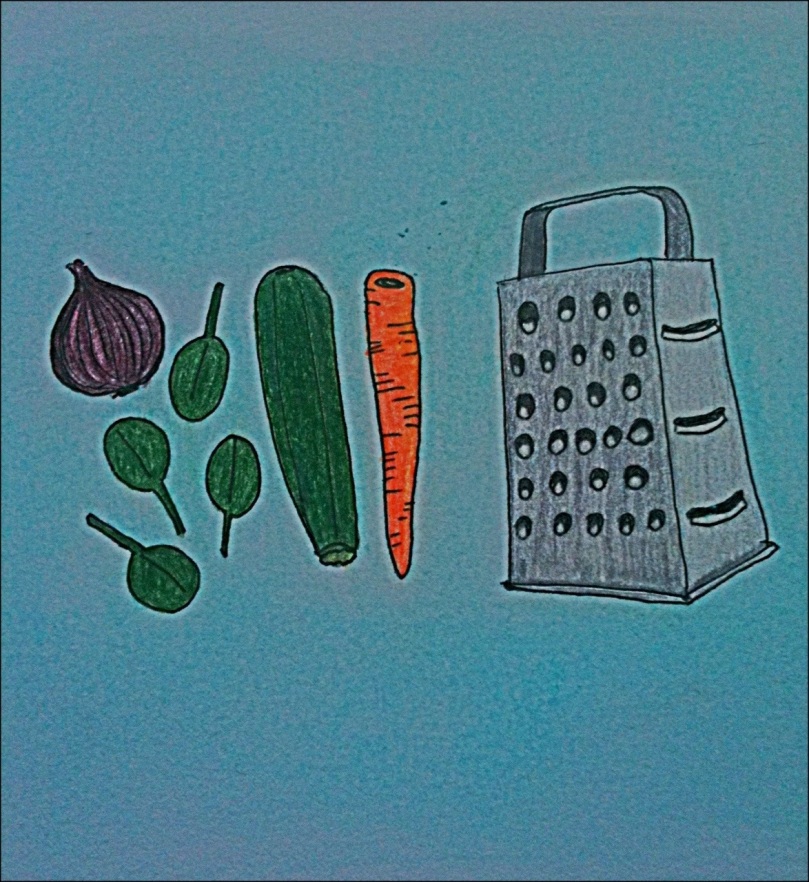
Select from the vegie drawer three or four of whatever you have that can be grated. Don’t be limited by what you think can be grated- cauliflower, broccoli stalks, beetroot, parsnips, cabbage, sweet potato are all possibilities. Onions, tomatoes too. And the usual easy vegies- zucchini and carrots, spinach, kale. The combinations are endless.
This dish can be a real experiment in vegie knowledge. Here are a couple of tips.
Onions (leeks, spring onions etc) are better to sauté first, alone without the liquid of other vegies getting in there. Then they have a chance to release their sweetness.
Starchy vegies will drink up a bit more oil than wetter vegies which will release their liquids into the pan. Adjusting the heat may be necessary if the wet vegies are steaming up the pan, just to dry them out a little.
Greens are usually left to wilt last minute, unless it’s a cabbage or curly kale, which both benefit from a bit more time in the pan.
Put a heavy bottomed skillet, wide bottomed pot or frypan on medium-high heat. Grate, shred or finely slice the vegies you have chosen. For example, this morning I sliced half a leek, grated a carrot and a zucchini while washing a handful of spinach.
Oil the bottom of the pan- choice of a flavourful oil such as coconut, macadamia or fruity olive oil can add good flavour at this point. You’ll need about two tablespoons, depending on which vegies you have chosen and how much you want them to fry vs sauté vs steam-cook.
Once you have assessed the cooking order of the vegies, add them to the pan and stir. Season with salt and pepper. Remember, this is a hash, a quick fry of vegies, not a beautifully constructed dish. It is a jumble of sweated, maybe crusty, bits of vegie, quick and easy for brekky. Once the vegies have softened and sweetened they are done.
Scoop the vegie hash into a bowl and top with the best condiment for your combo.
Some suggestions are yoghurt, avocado slices, fermented sauerkraut or kimchi, hommous, grated cheese or crumbled feta, chunky relish or even just a squeeze of lemon juice is enough. Remember that if you include a little protein, this hearty warm hash will keep you going until lunchtime.